
Getting Started
This guide walks you through the steps to send your first email through the Splashify Pro Email API.
Prerequisites
- A Splashify Pro Email account (sign up free)
- An API key (generated in Splashify Pro Email)
- A domain you control (for production sends — sandbox sends work without a verified domain but only to addresses you've verified)
Step 1 — Sign up and get an API key
If you don't have an account:
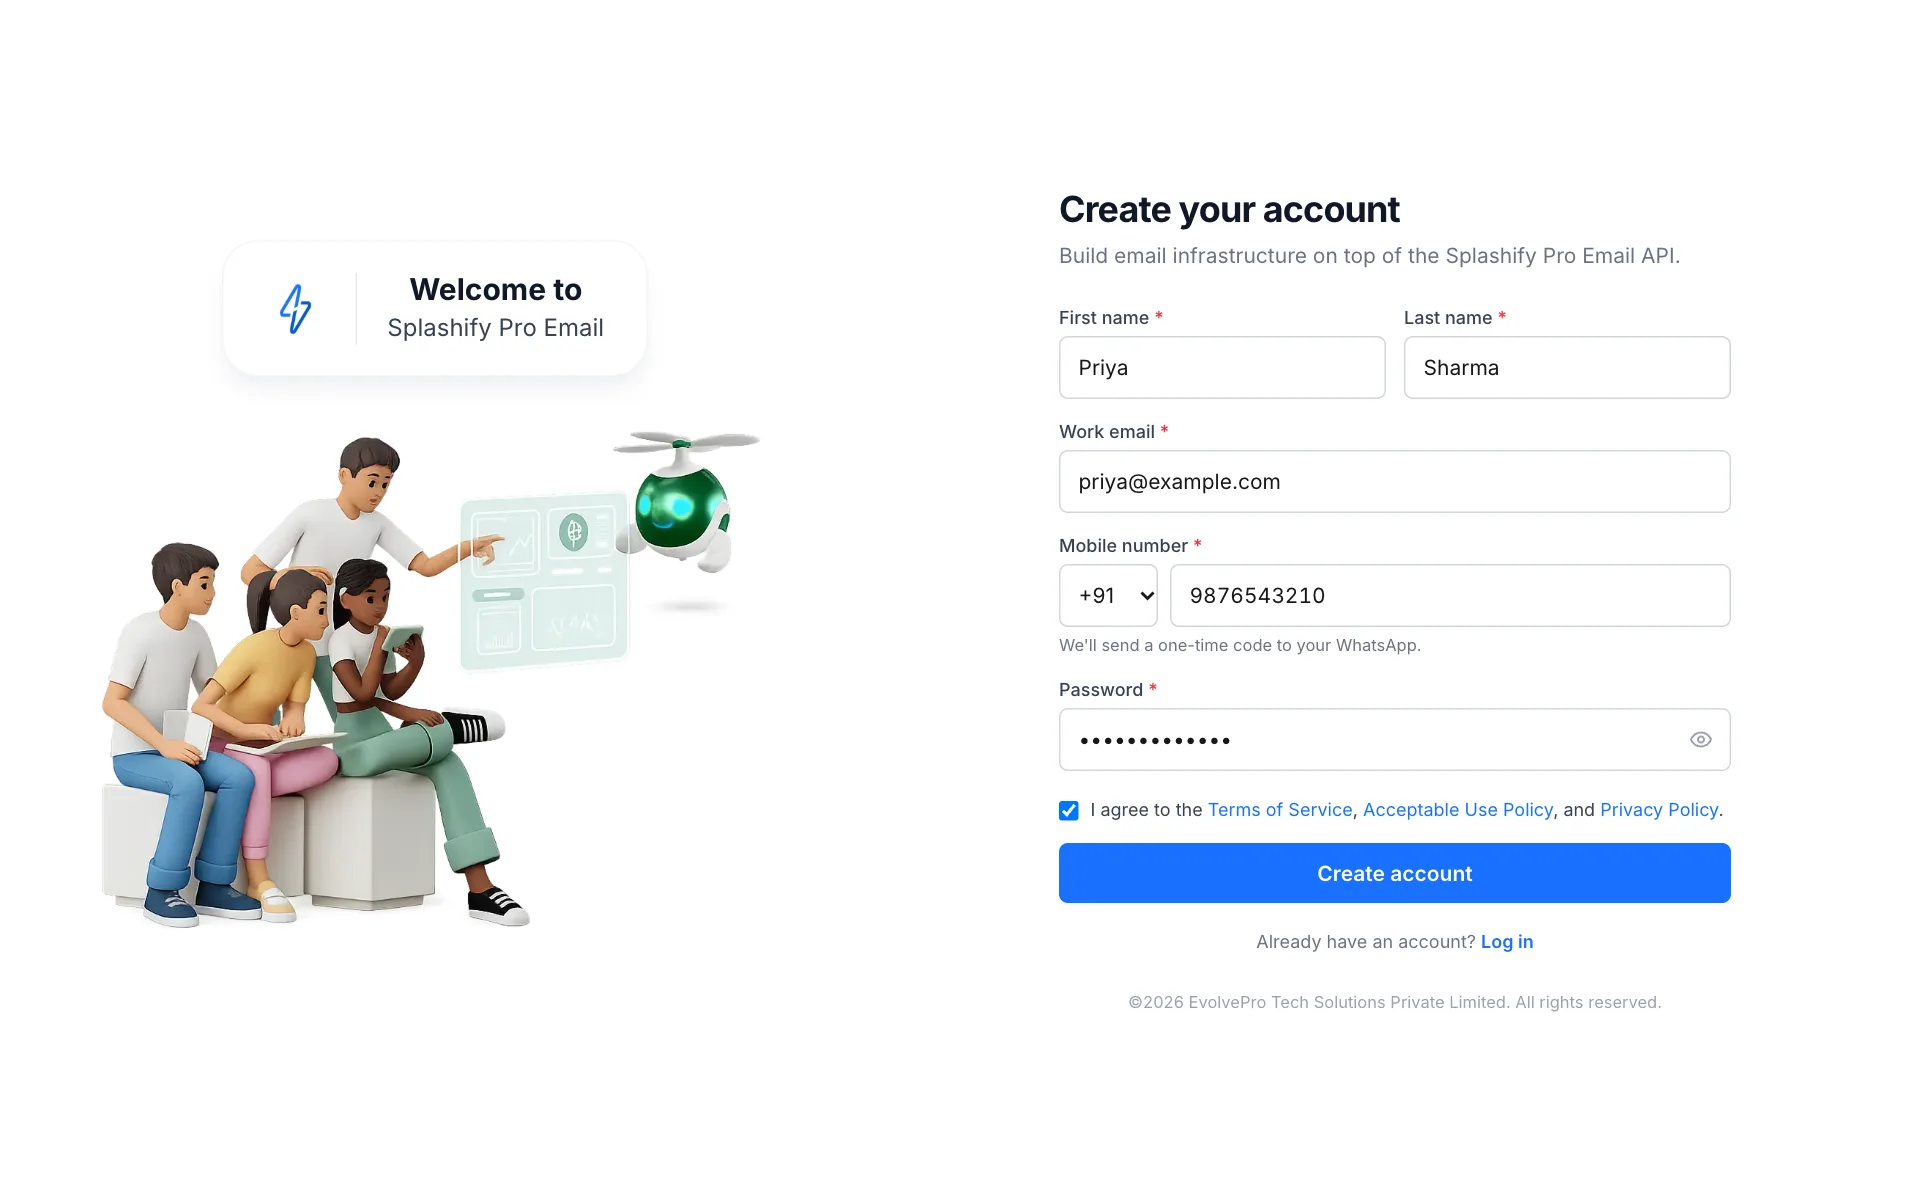
- Visit email.splashifypro.com/signup
- Enter your email, mobile number (with country code), and a password
- Verify the OTP sent to both your email and WhatsApp
- Log in
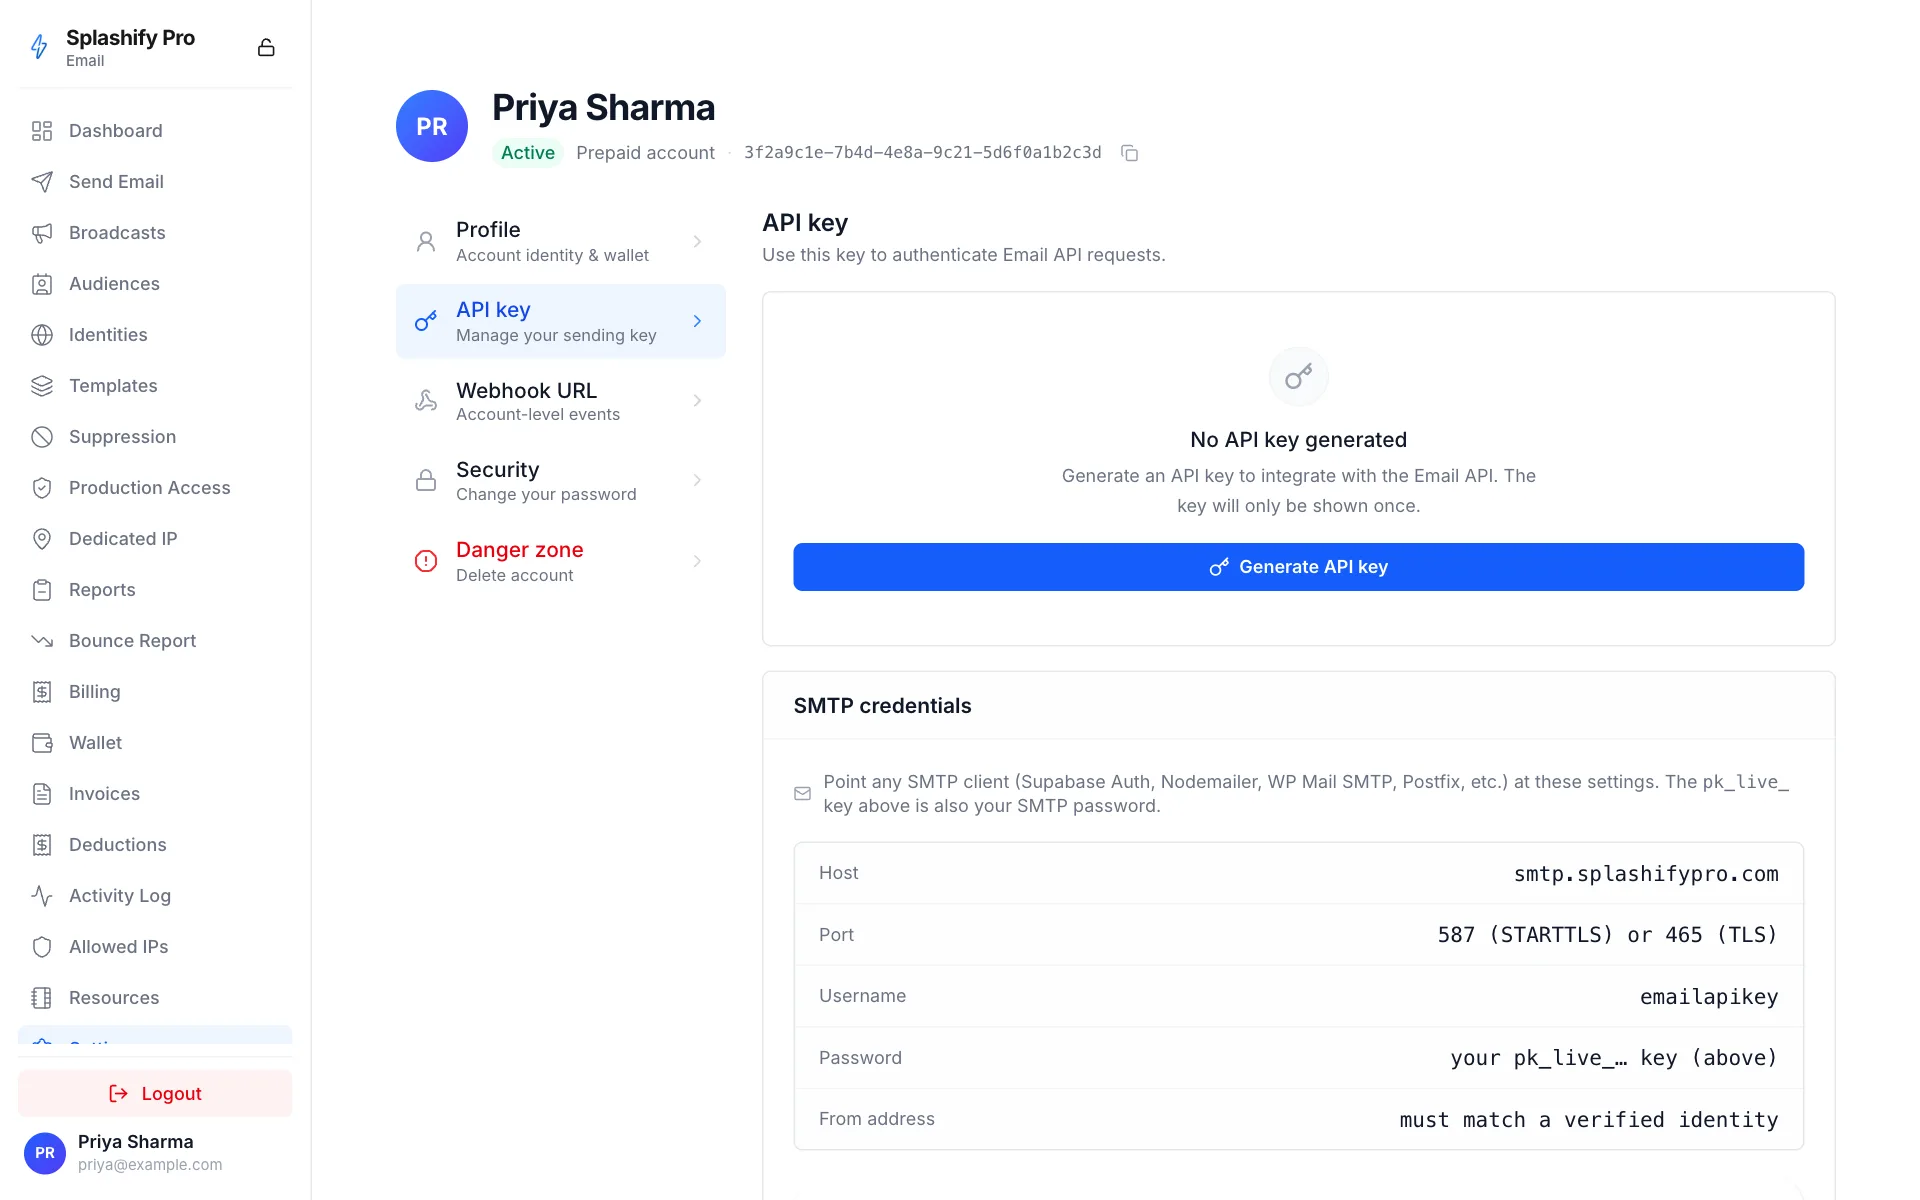
To create an API key:
- Go to Settings → API Keys
- Click Generate API Key
- Copy and securely store the key — it is only shown once
- Use it as the Bearer token in the
Authorizationheader on every API request
Step 2 — Verify a sending identity
Before you can send from an address, you must verify ownership of the domain or the email address itself. Domain verification is preferred because it covers any address at that domain.
curl https://api.splashifypro.com/api/v1/partner/email/identities \
  -H "Authorization: Bearer $SPLASHIFY_API_KEY" \
  -H "Content-Type: application/json" \
  -d '{
    "identity_type": "DOMAIN",
    "identity_value": "yourcompany.com"
  }'
The response includes the three DNS records you need to publish:
{
  "success": true,
  "identity_type": "DOMAIN",
  "identity_value": "yourcompany.com",
  "status": "PENDING",
  "dns_records": {
    "spf": {
      "type": "TXT",
      "hostname": "yourcompany.com",
      "value": "v=spf1 include:_spf.mail.splashifypro.com ~all"
    },
    "dkim": {
      "type": "CNAME",
      "hostname": "splashify._domainkey.yourcompany.com",
      "value": "splashify._domainkey.mail.splashifypro.com"
    },
    "dmarc": {
      "type": "TXT",
      "hostname": "_dmarc.yourcompany.com",
      "value": "v=DMARC1; p=quarantine; rua=mailto:[email protected]"
    }
  }
}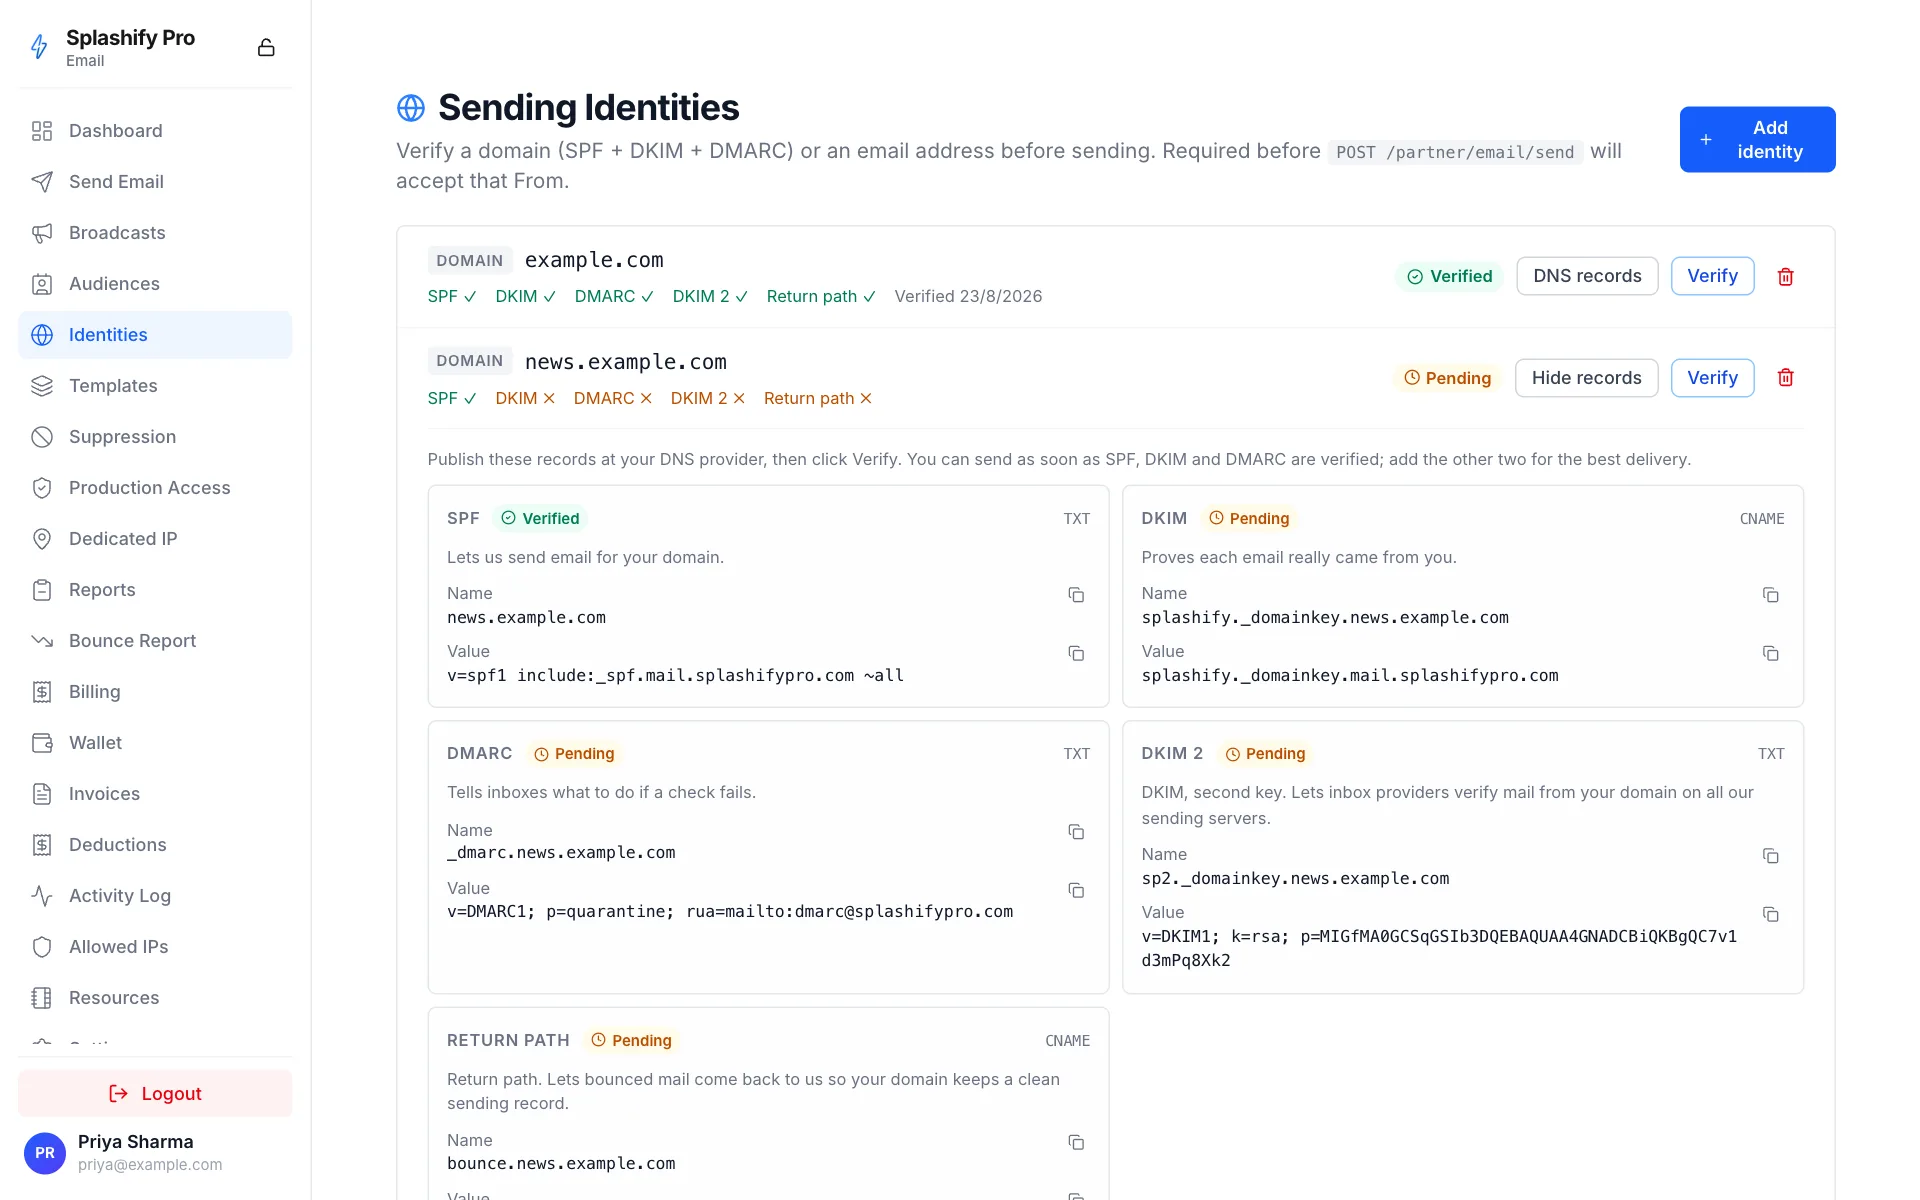
Publish all three records on your DNS provider and trigger a re-check:
curl -X POST https://api.splashifypro.com/api/v1/partner/email/identities/DOMAIN/yourcompany.com/verify \
  -H "Authorization: Bearer $SPLASHIFY_API_KEY"
When "status": "VERIFIED" comes back, you can send from any address
ending in @yourcompany.com.
Step 3 — Send a transactional email
curl https://api.splashifypro.com/api/v1/partner/email/send \
  -H "Authorization: Bearer $SPLASHIFY_API_KEY" \
  -H "Content-Type: application/json" \
  -d '{
    "from": "[email protected]",
    "to": ["[email protected]"],
    "subject": "Welcome",
    "html_body": "<h1>Welcome aboard 👋</h1><p>Thanks for signing up.</p>",
    "text_body": "Welcome aboard. Thanks for signing up."
  }'
The response carries the message_id you can use to poll delivery
status:
{
  "success": true,
  "results": [
    {
      "recipient": "[email protected]",
      "message_id": "550e8400-e29b-41d4-a716-446655440000",
      "status": "queued"
    }
  ]
}
Step 4 — Watch delivery status
Poll the message status:
curl https://api.splashifypro.com/api/v1/partner/email/emails/550e8400-e29b-41d4-a716-446655440000 \
  -H "Authorization: Bearer $SPLASHIFY_API_KEY"
Or — better — set up a webhook that we POST to whenever
the message transitions through Send → Delivery → Open → Click / Bounce / Complaint.
Step 5 — Move out of sandbox
New accounts start in sandbox mode:
- 200 emails/day cap
- 1 email/sec peak send rate
- Can only send to verified-recipient addresses
To go live, request production access:
curl -X POST https://api.splashifypro.com/api/v1/partner/email/production-access \
  -H "Authorization: Bearer $SPLASHIFY_API_KEY" \
  -H "Content-Type: application/json" \
  -d '{
    "use_case": "Transactional emails for our SaaS application: signup confirmations, password resets, payment receipts.",
    "email_volume_estimate": "5000-15000 per day",
    "has_unsubscribe_method": true,
    "has_consent_proof": true
  }'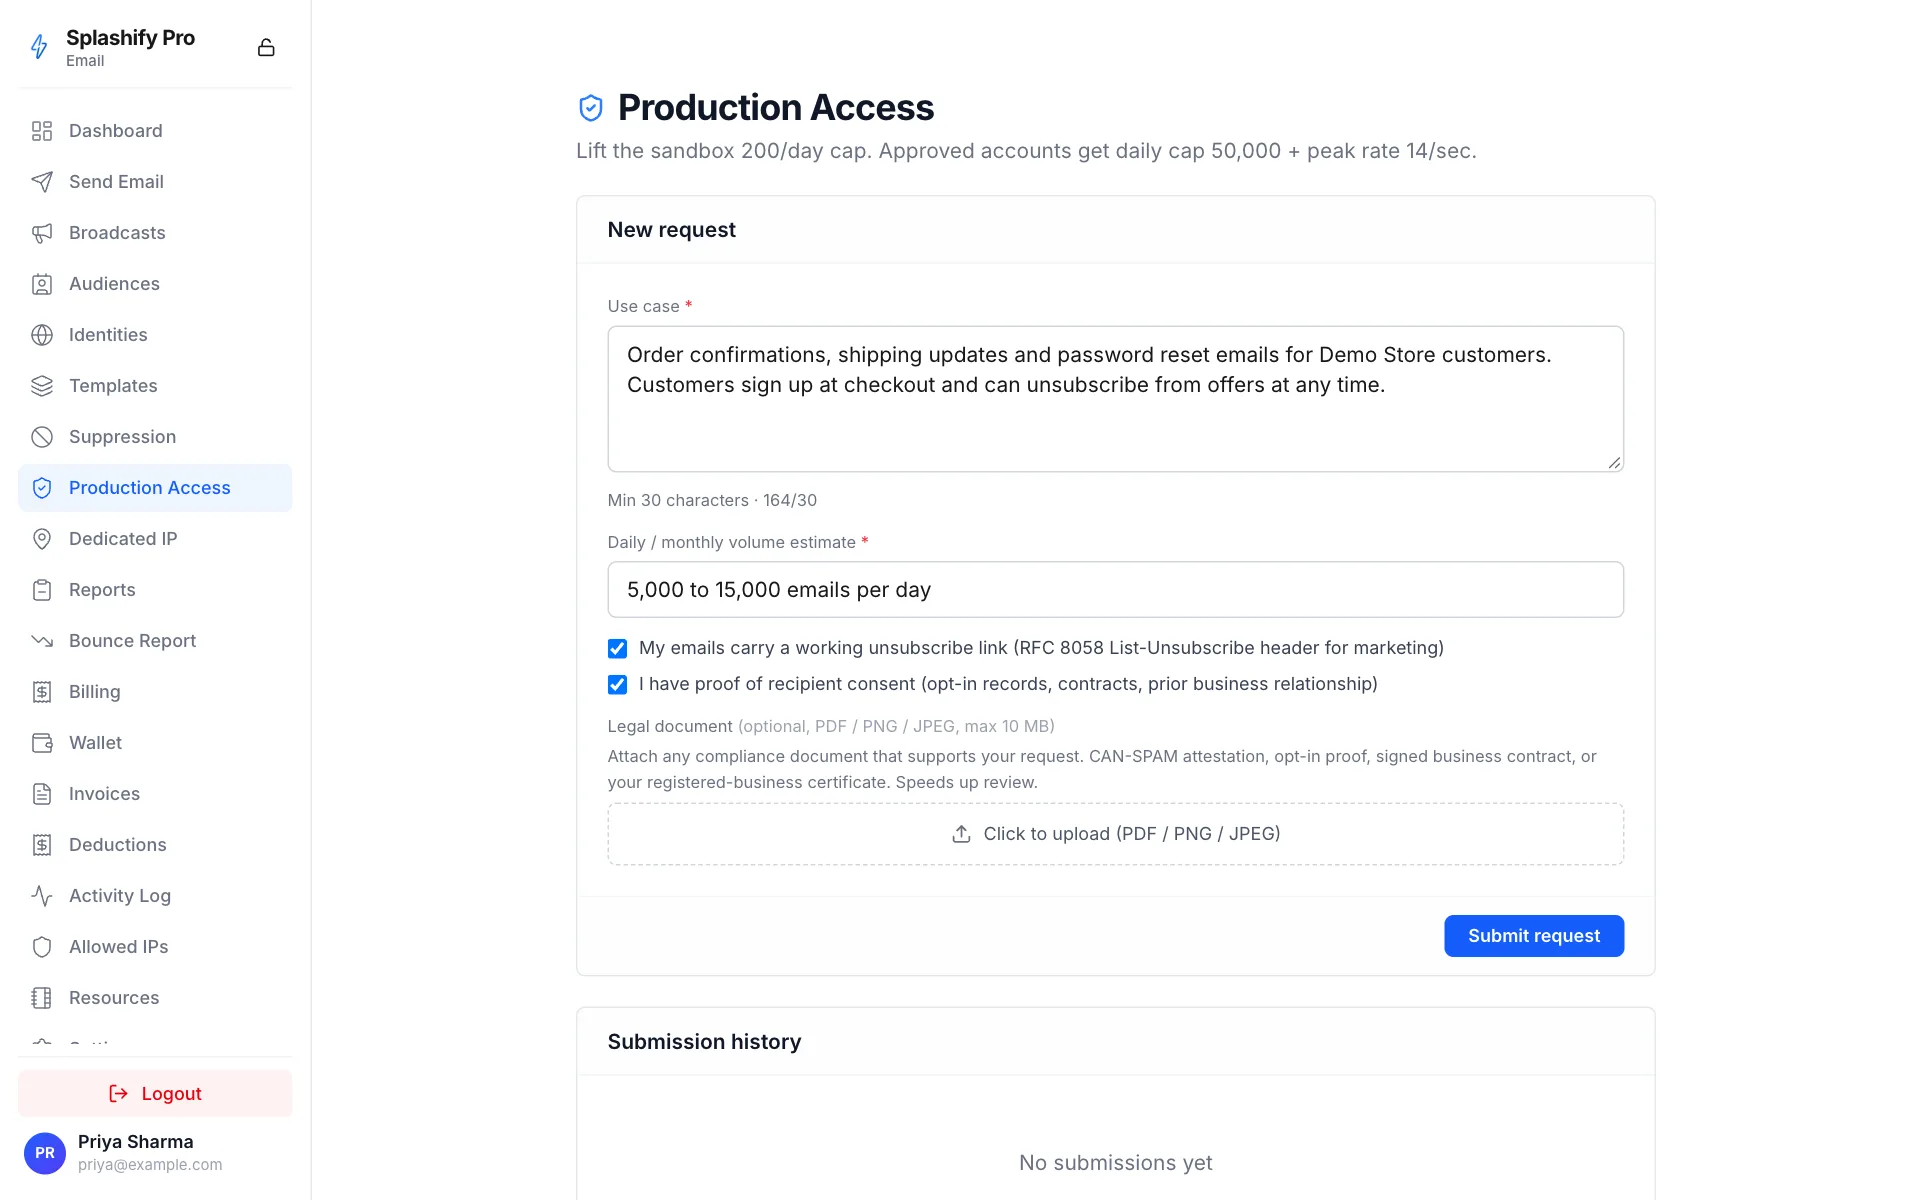
Approved requests lift sandbox + bump your daily quota to 50,000 + peak rate to 14/sec. Most requests are reviewed within 24 business hours.
Next steps
- Authentication → — API key best practices
- Concepts → — configuration sets, event destinations, suppression
- Webhooks → — real-time delivery events
- API Reference → — full endpoint reference